3D Printer: Prusa Clone 2.0
After learning to weaknesses of my first 3D printer, I decided to build a second 3D printer by printing the parts with my first one. After some upgrades on the 1.0, it produced quite good pieces.
Hardware
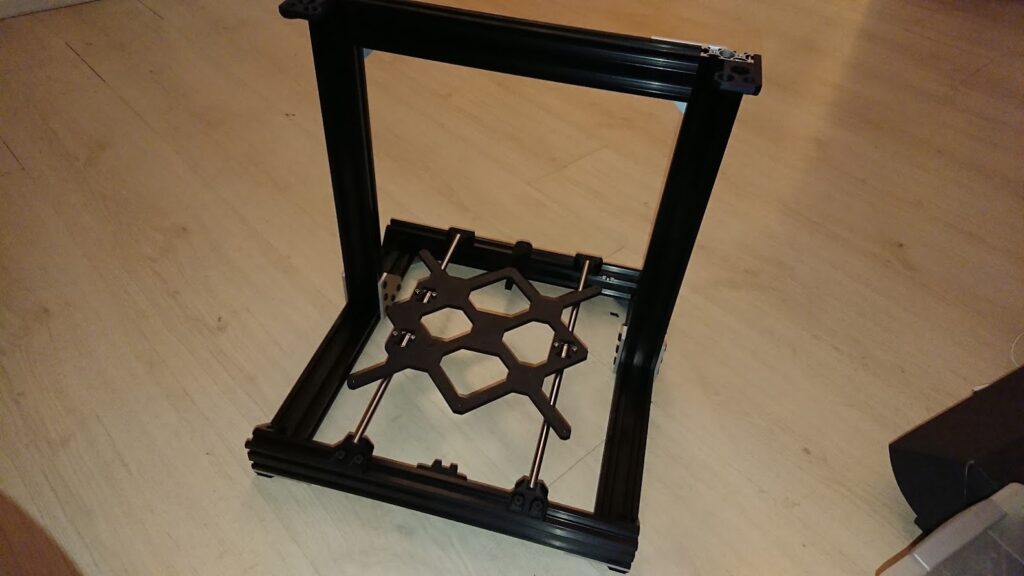
The latest model is based on the Prusa Full Bear upgrade. The costs are higher the the standard Prusa Frame, however I like the flexibility of using openBeam aluminium profiles. And it looks great.
Hardware Abstraction Layer; I chose to use the SKR-1.3 board with the NXP ARM-Cortex M3 LPC1768 processor, using Visual Studio Code and Platform.io, I configure and compile my own firmware.
Stepper Driver; Trinamic TMC2130 with stall detection and other amazing features in such a small chip.
Stepper Nema 17; 5 Pieces, no active cooling is needed due to the CoolStep™ feature of the TMC2130.
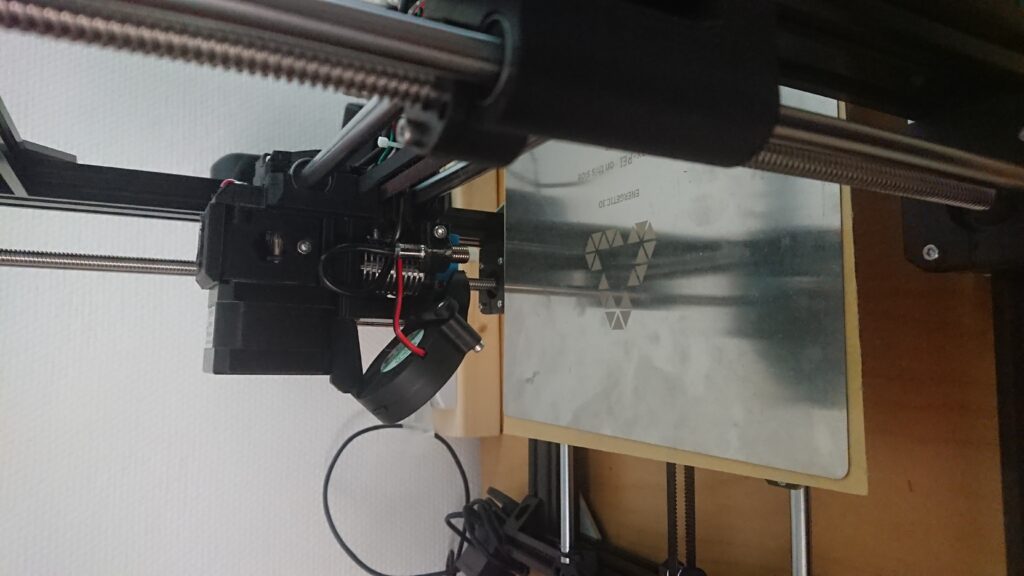
Heatbed; The new heatbed consists out of magnetic removable thin plate together with the PCB that generates heat.
Extruder; It is a direct-driver extruder from MK3S prusa design with 2 fans and an inductive sensor for the autoleveling.
Frame; Rapid prototyping openBeam aluminium profiles.
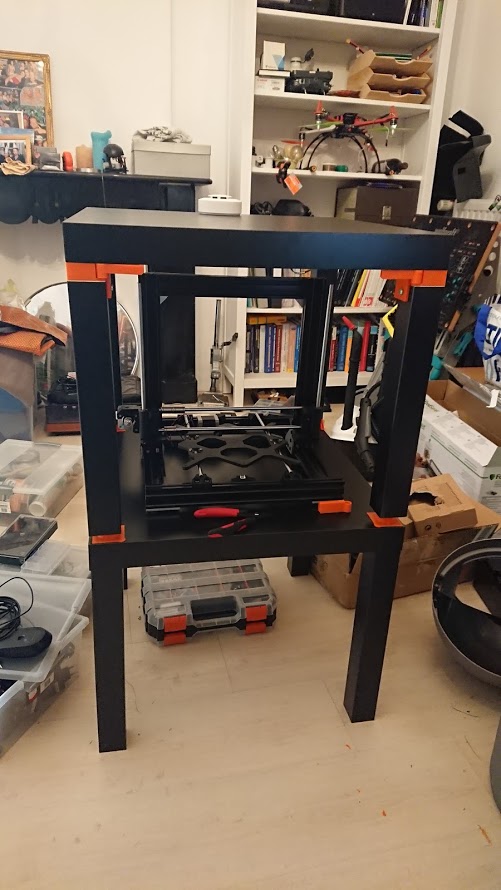
Enclosure; build using 2 Lack tables from ikea, the enclosure is important when printing ABS, since it is sensitive to warping. Also containing the smell when using ABS. PLA and PET are almost smell less.
MMU2; MultiMaterialUnit is a on my todo-list. It will help with autoloading of different materials in the printer. This has an impact on the enclosure, it still needs to be rebuild.
Software
Print Server
Before using a Raspberry Pi as the print server, I used my desktop with Repetier-Host. To free up my desktop and have a more reliable print server, I moved to a Raspberry Pi with OctoPrint installed.
Raspberry Pi running OctiPi 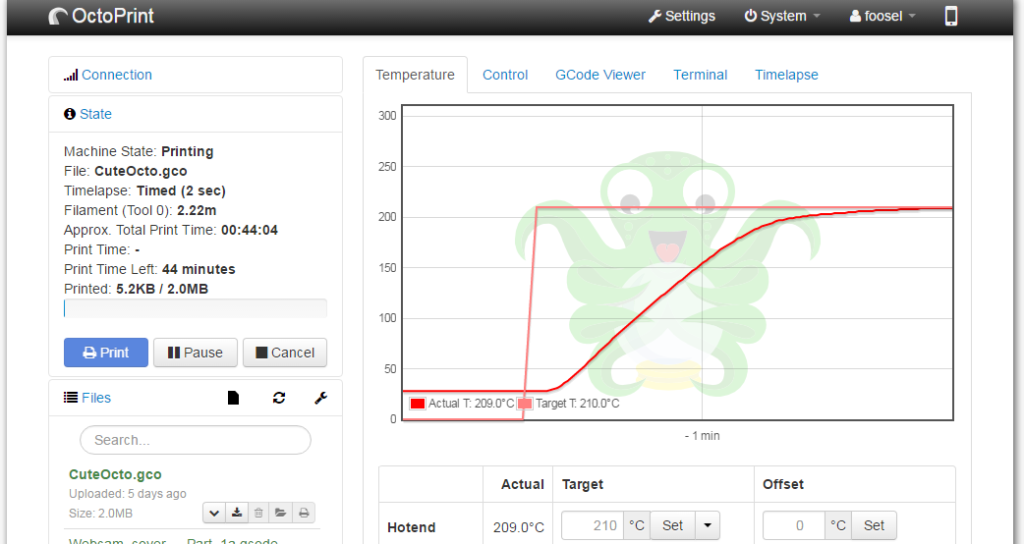
Octoprint
Slicer (CAM)
Slicers create the tool-paths, also known as CAM, for 3d models. Next to the disposition path the extra parameters are controlled such as the temperatures using fans and heaters.
The quality and print time are two important parameters for a 3D print, I use in general 2 different slicer depending of the used material and overhang. Slic3r and Cura to create the tool-path.
3D Models (CAD)
For the 3D models you have different ways to go, for free models the best starting point is Thingiverse. For paramatic 3d models, FreeCAD and Googles SketchUp. My preferences goes to paid packages as SolidWorks or Inventor. The latter two packages were used during the design phase of the Forze vehicles. During my studies, Student Licences were available for these CAD software as for ProEngineer and Catia.
For form designers, you also have rhino3d. This is the way to go when you are working with surface modeling. The bodywork of the Forze 4 was for example made with rhino3d.